
Freddy Fly Step By Step
Before the Chubby Chernobyl, John Foust’s Freddy Fly (or Fat Freddy) was a staple pattern throughout the West. Foust invented the fly for the waters around Missoula, but it has caught fish all over the world.
The Freddy differs from a lot of modern foam patterns in its incorporation of a synthetic post rather than a large synthetic down-wing(s). When tied correctly, the post keeps the fly visible to the fisherman, but is less visible from below. The foam body provides buoyancy and the rubber legs add motion. This fly can be tied in many different color combinations to imitate any stoneflies or large terrestrials. The Freddy is a good searching pattern, with or without a dropper, when nothing obvious is happening.
The Missouri River around Craig does not have large stonefly hatches. However, when fished properly and at the right time, the Freddy has accounted for quite a few trout on this section of water.
Materials:
- Hook: TMC 5263
- This is a 2X heavy 3x long nymph/streamer hook that doesn’t bend even after many fish.
- Thread: UTC 140
- Body: Two sheets of 2mm closed cell foam glued together with furry foam on the bottom.
- I like to use 3M Super 77 spray adhesive to attach the layers. I glue the two layers of foam together first, then put them between sheets of aluminum foil so they don’t stick to anything. Then I’ll pile heavy books or weights on top. When they have dried, I’ll peel a sheet of furry foam into two sides and repeat the process to attach the furry foam to the bottom.
- You can trim the body into shape by hand, or by using specially made foam cutters. I like the cutters produced by River Road Creations.
- Legs: Silicone to match the body
- Post: Widow’s Web from MFC
Tying Steps:
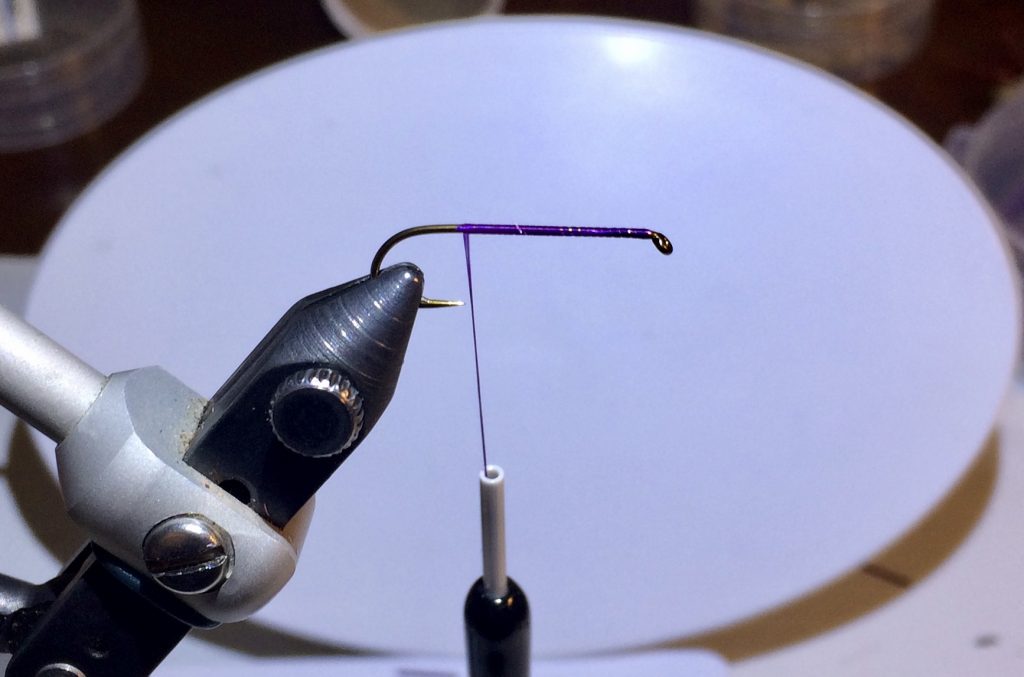
Step 1: Create a thread base. Stop thread above hook point.
Step 2: Attach foam body to hook. I like to take one or two loose wraps and then 4 or 5 firm wraps to attach the foam. Then, I’ll inch the thread back a little bit and take an additional series of wraps to make the area of thread wraps a little wider. This will help spread the legs correctly in the next step. Ben McNinch showed me this trick and it works really well.
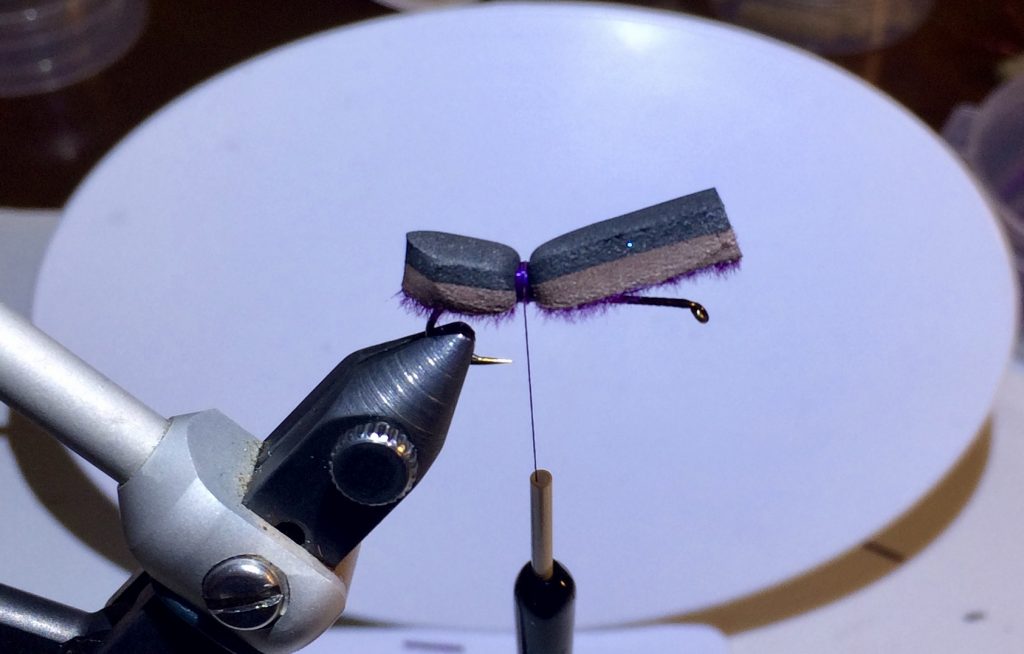
Step 3: Attach silicone legs. I attach each leg with 2 thread wraps and then an additional 2-4 wraps over both to lock them in. If you don’t like how the legs are flaring, you can take additional wraps behind or in front of the legs to make them flare more.
Step 4: Advance the thread under the foam body to a point a little forward of the midpoint between the hook eye and hook point. Attach the foam body as you did in Step 2 to create a wider thread wrap area for leg attachment.
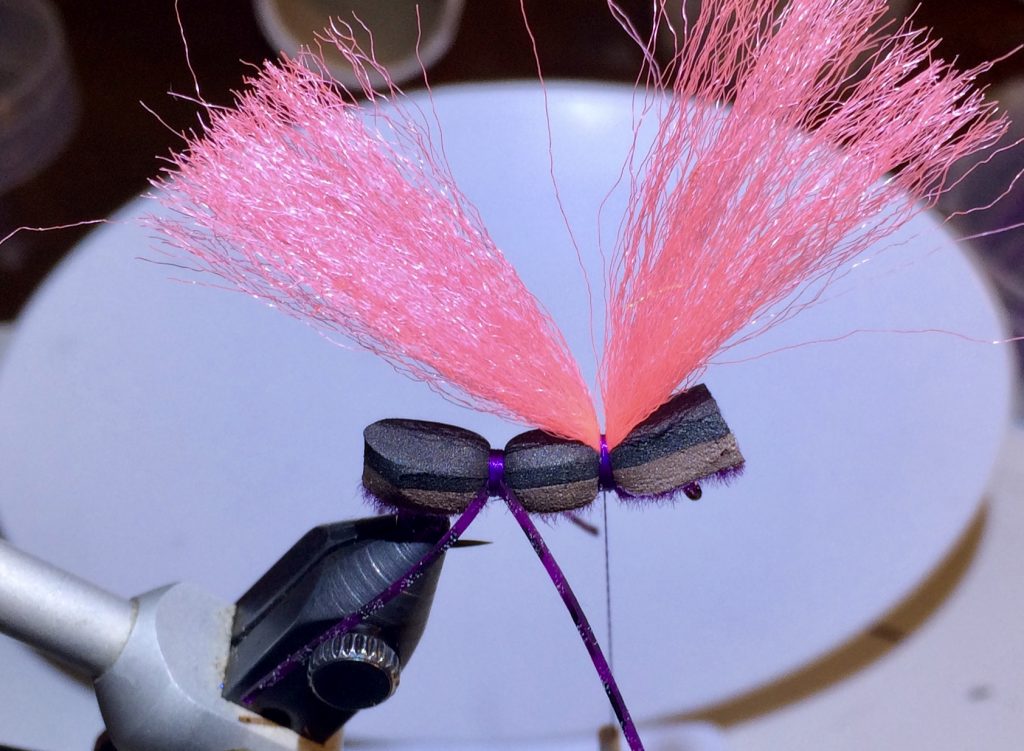
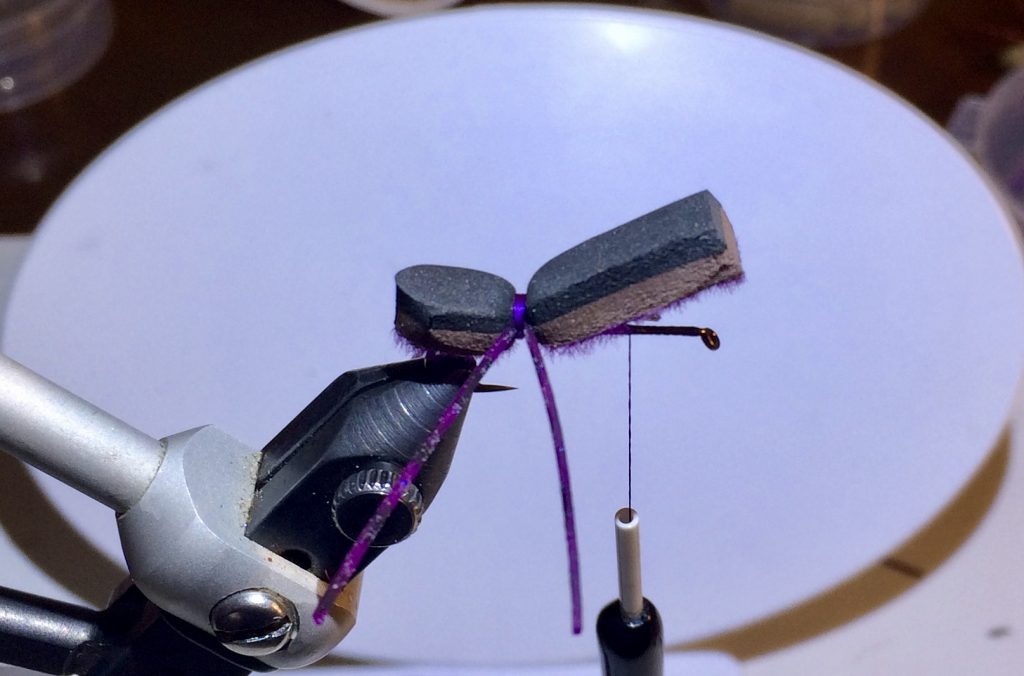
Step 5: Attach a 3-4 inch section of Widow’s Web with 4 firm thread wraps. The thicker the clump is, the easier it will be to see the fly.
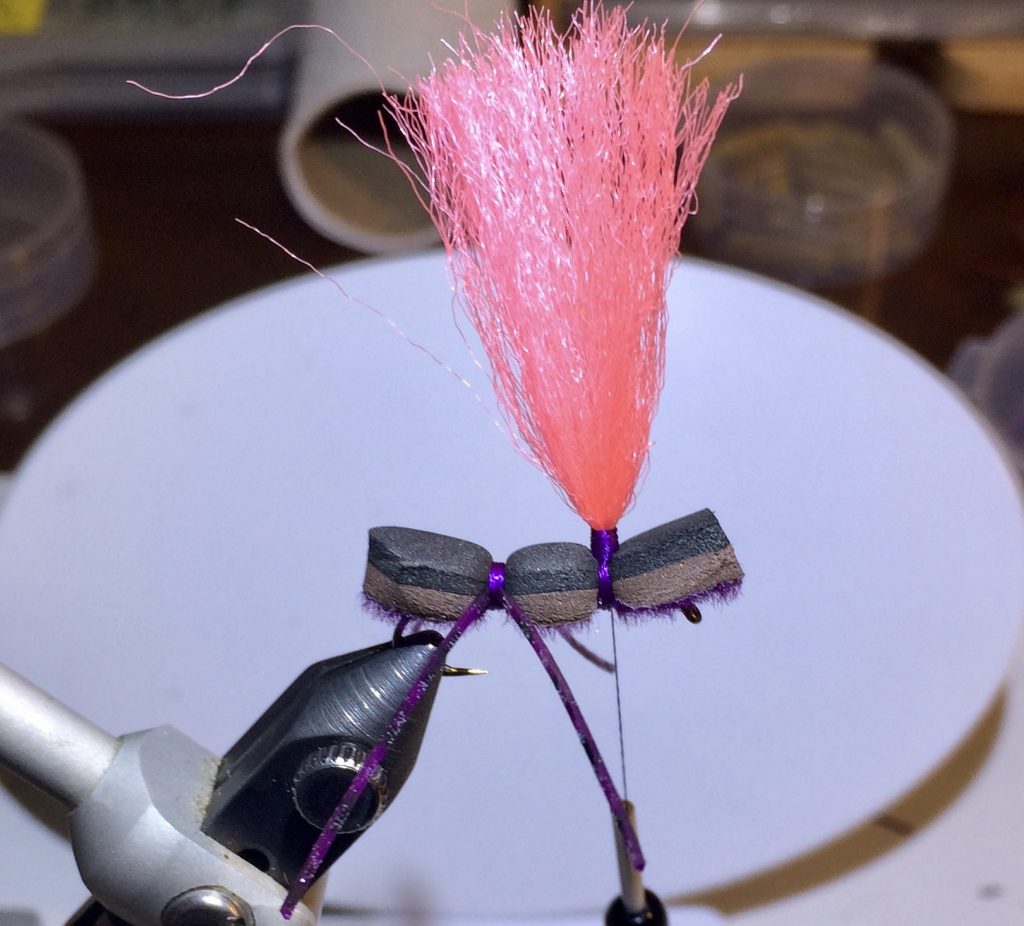
Step 6: Begin taking thread wraps horizontally around the clump of Widow’s Web to create a post. I like to wrap up about 1/8″ for a size 10 fly.
Step 7: Attach front legs as in Step 3.
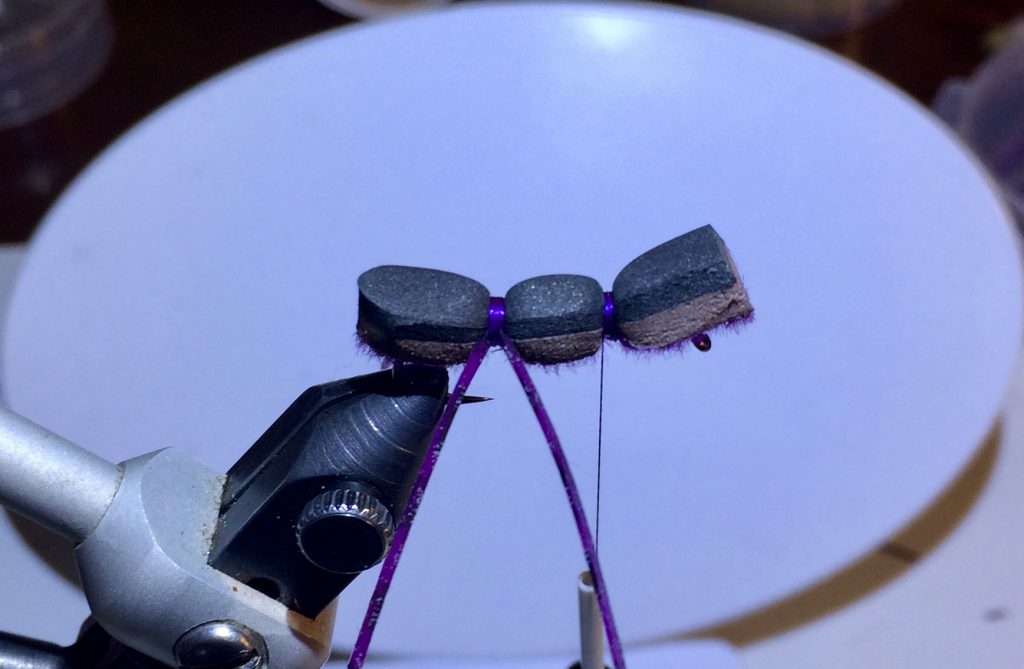
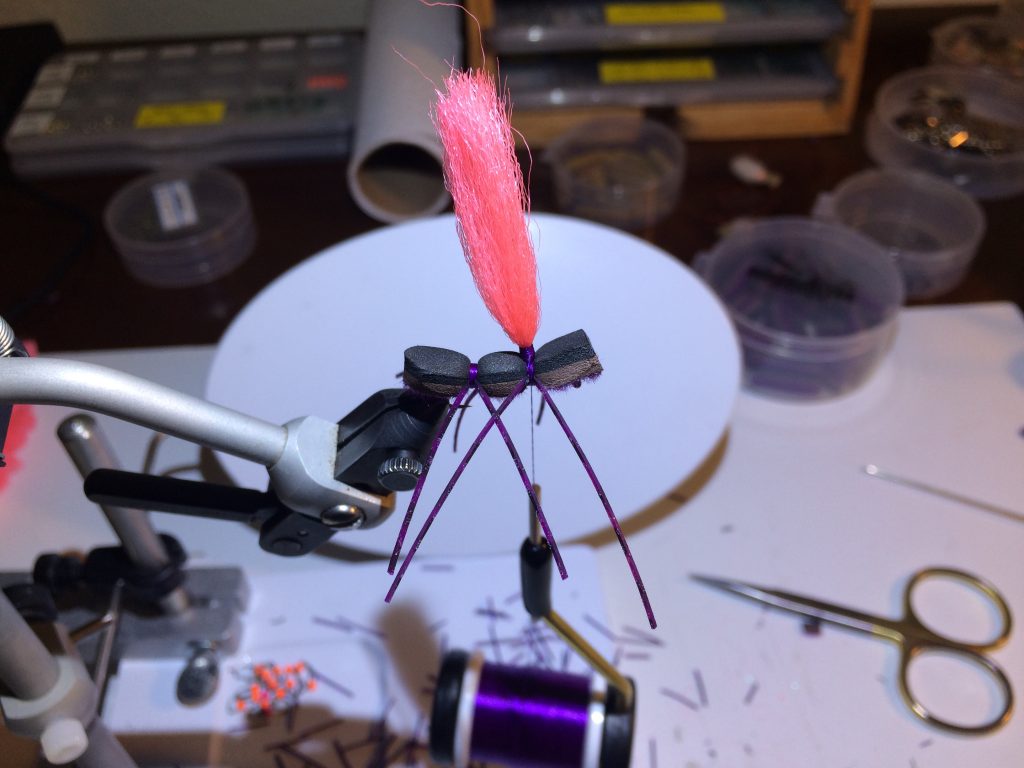
Step 8: Advance the thread under the foam body to just behind the hook eye. Create the head of the fly with 6 firm thread wraps. Once the foam is secured, make a few wraps of thread around just the hook shank underneath of the fly’s head. Whip finish and trim thread.

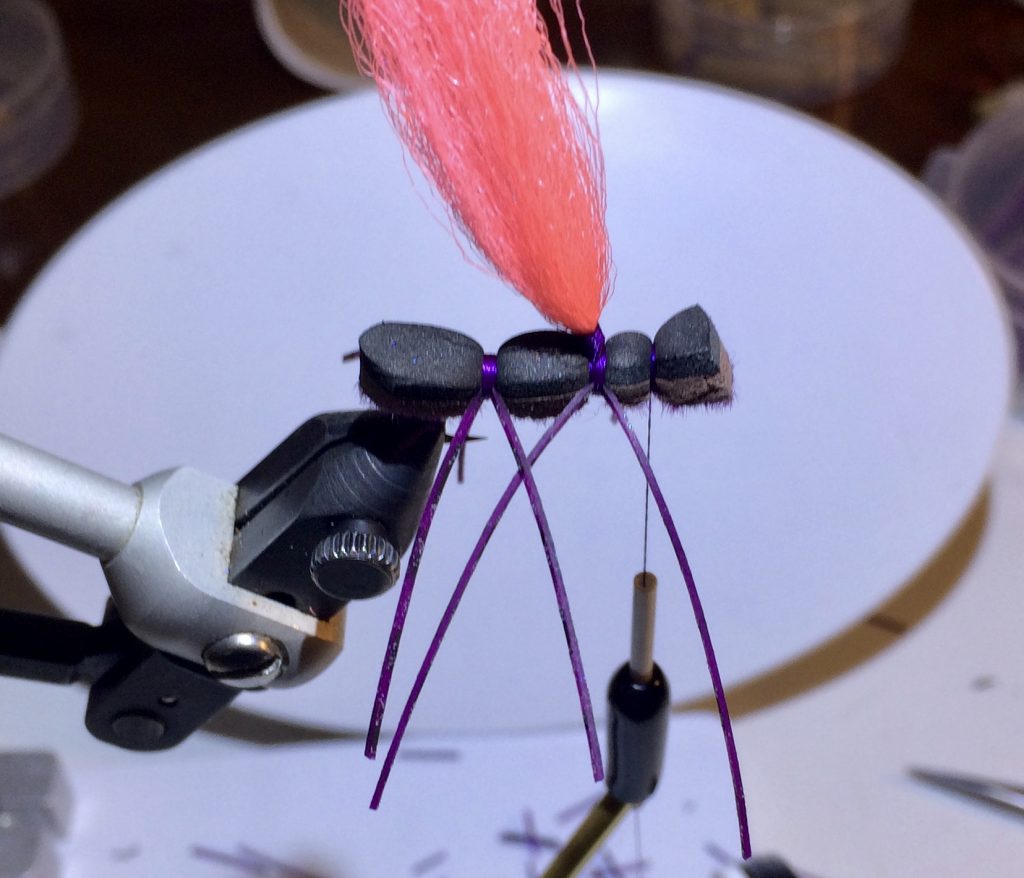
Step 9: Trim the legs. I like the legs to be about as long as the whole fly.
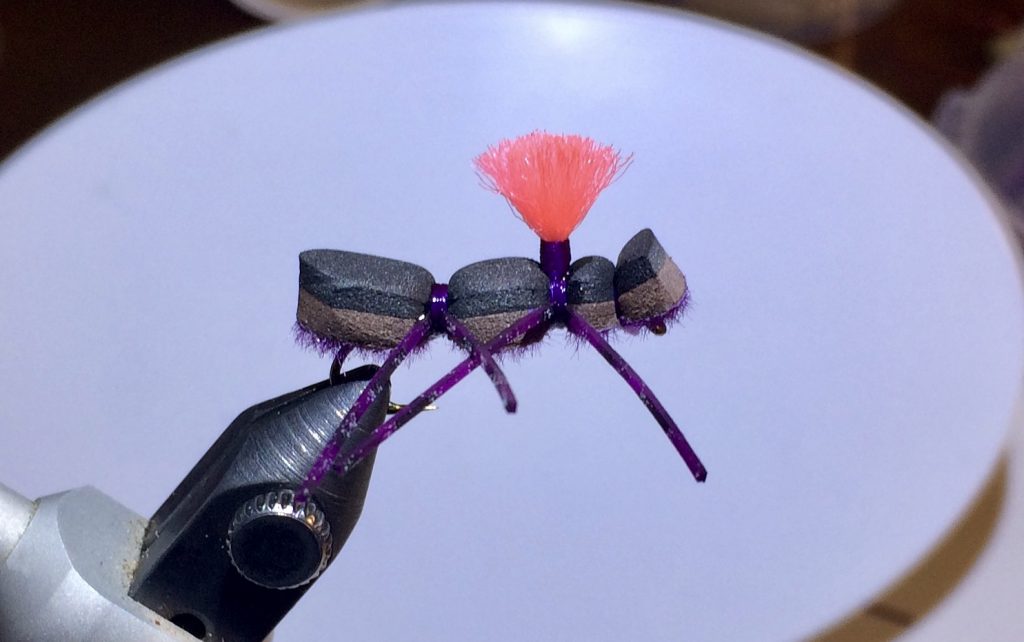
Step 10: Trim the post. I like to finish the fly by using a bodkin to apply a small amount of superglue to all the thread wraps. If everything is secured properly, this step is unnecessary, but I like my flies to be as indestructible as possible.
11 Comments.
Ooooh, this would destroy during the traveling sedges on Georgetown!
Thanks, Braden!
“Then, I’ll inch the thread back a little bit and take an additional series of wraps to make the area of thread wraps a little wider. This will help spread the legs correctly in the next step. Ben McNinch showed me this trick and it works really well.”
Just tied a “Freddy”. Making a wider thread base really works to spread the legs. Thanks to Ben!!!!
Thanks and have a great day
Paul
Do you folks have the purple furry foam? Can’t see to find it anywhere.
Steve, are you just looking for a pack of it, or do you want a bunch?
I could use a couple of packs for sure Braden. How much is a bunch?
Hey Braden Steve again,
I went to a couple of craft stores, because they have a lot of foam sheets, but still no furry foam. They have purple felt, but it does not look like the same material. When you get a chance, please let me know what you are using for the Freddy Fly. It looks like it will work really well. Thanks!
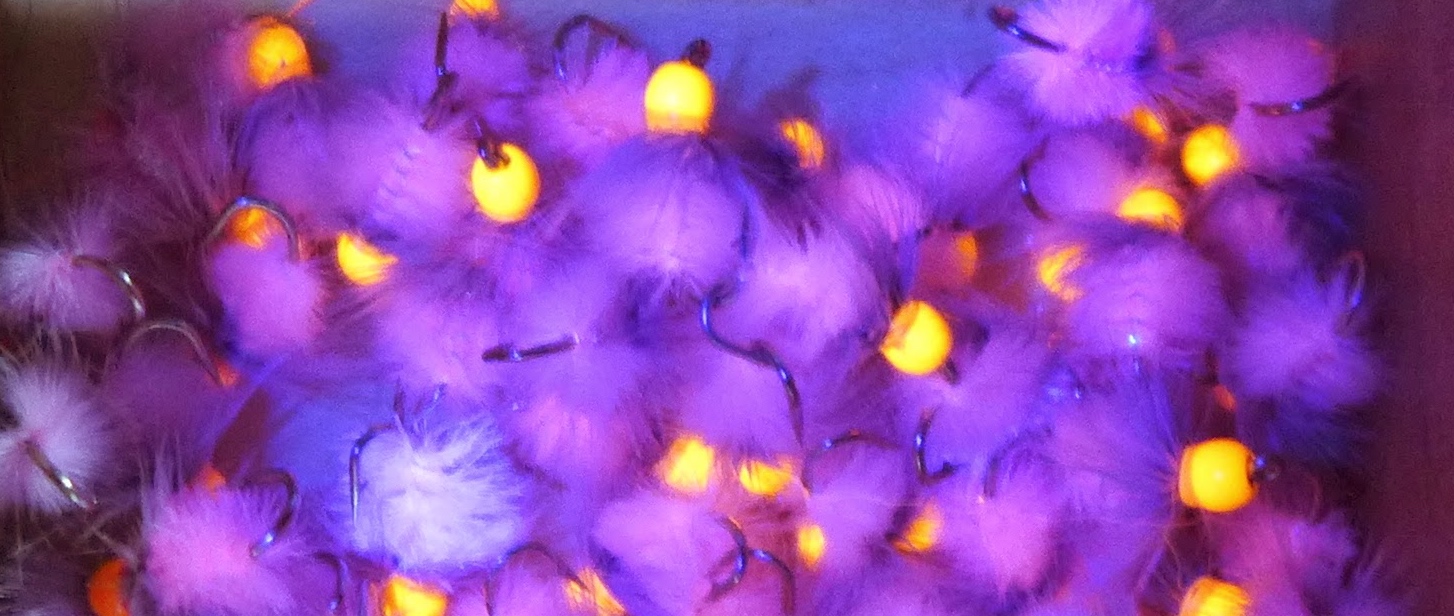
Steve, the flies in the pictures were tied using furry foam from Yellowstone Fly Goods. I don’t think that there is a craft store equivalent. We currently do not have any purple in stock, but we can order some and get it within a few days. Would you like us to order some for you?
Yes, please order me some Braden. Thanks!
Steve, please give us a call at 406-235-3447 so we can get your info.
Will do Braden. I will call tomorrow morning. Thank you!