
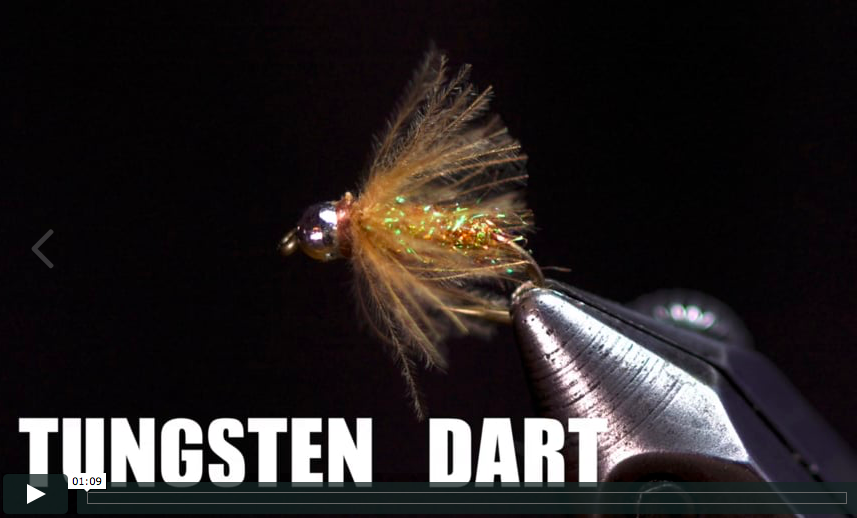
Stocking Wing Caddis Step By Step
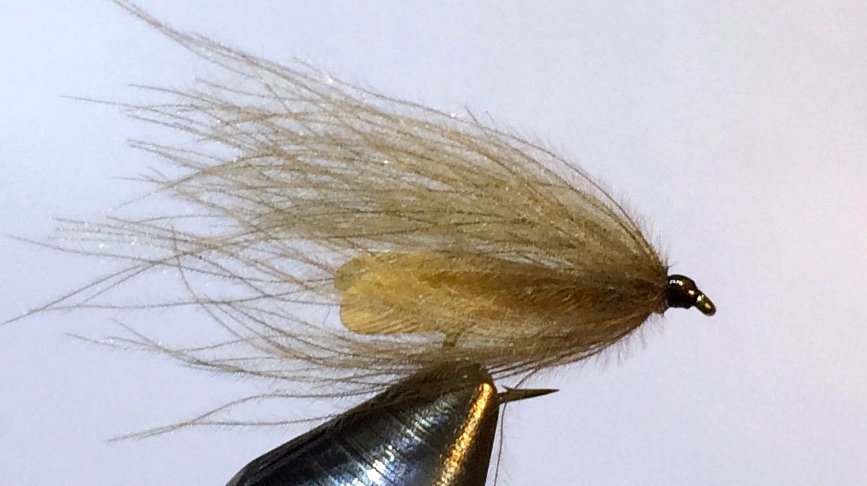
During the caddis fly hatch on the Missouri River, it’s a good idea to have several patterns with differing profiles in your box including there Stocking Wing Caddis. It makes sense to have some high floating patterns that are easy to see as well as some low-profile patterns that sit lower in the water.
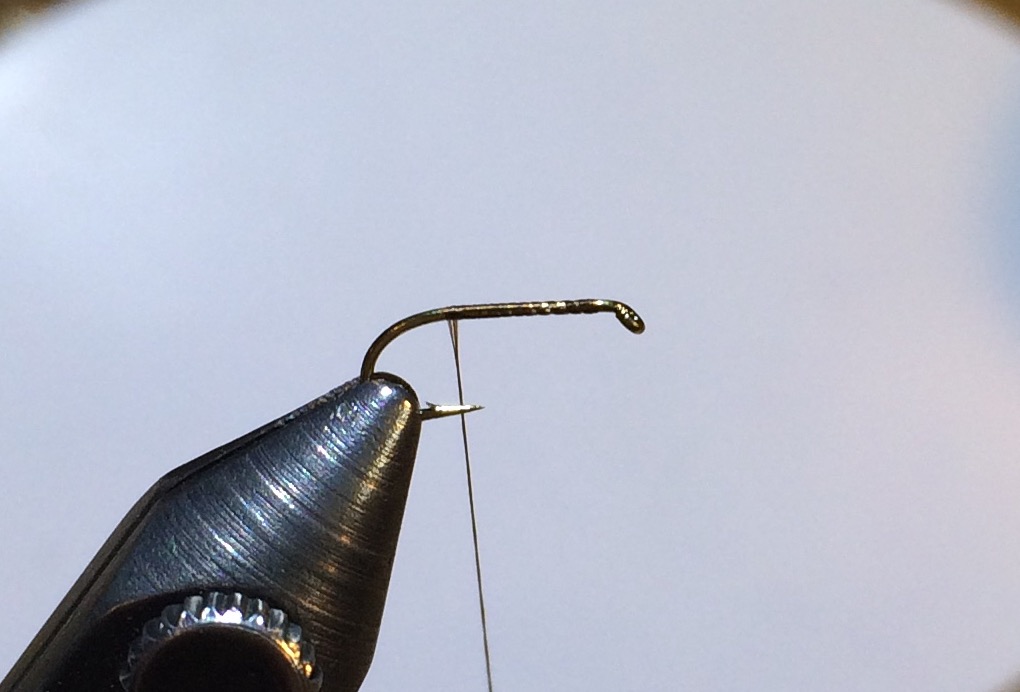
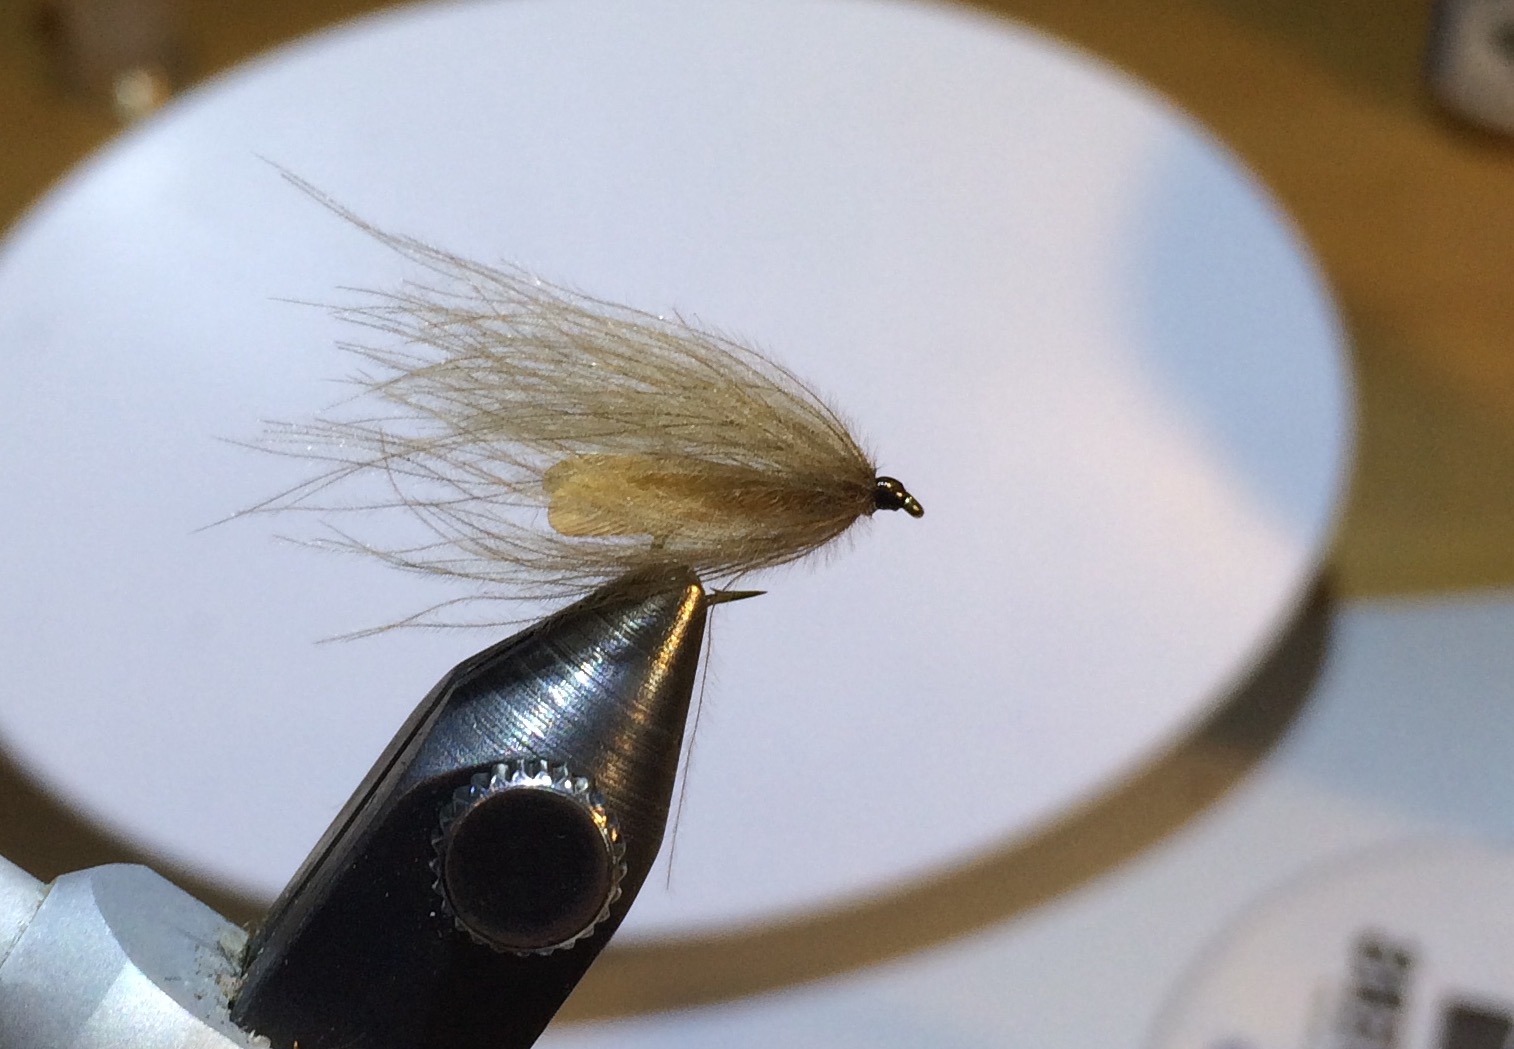
The Stocking Wing Caddis is one pattern that has a low profile, but also floats well and is easy to see due to its buoyant CDC collar. If you properly apply floatant, it will keep floating even after several fish. This pattern is tied on a TMC 9300 heavy dry fly hook which is a great hook for the heavy fish found in the Missouri River. It tends to bend less than lighter wire hooks when landing fish.
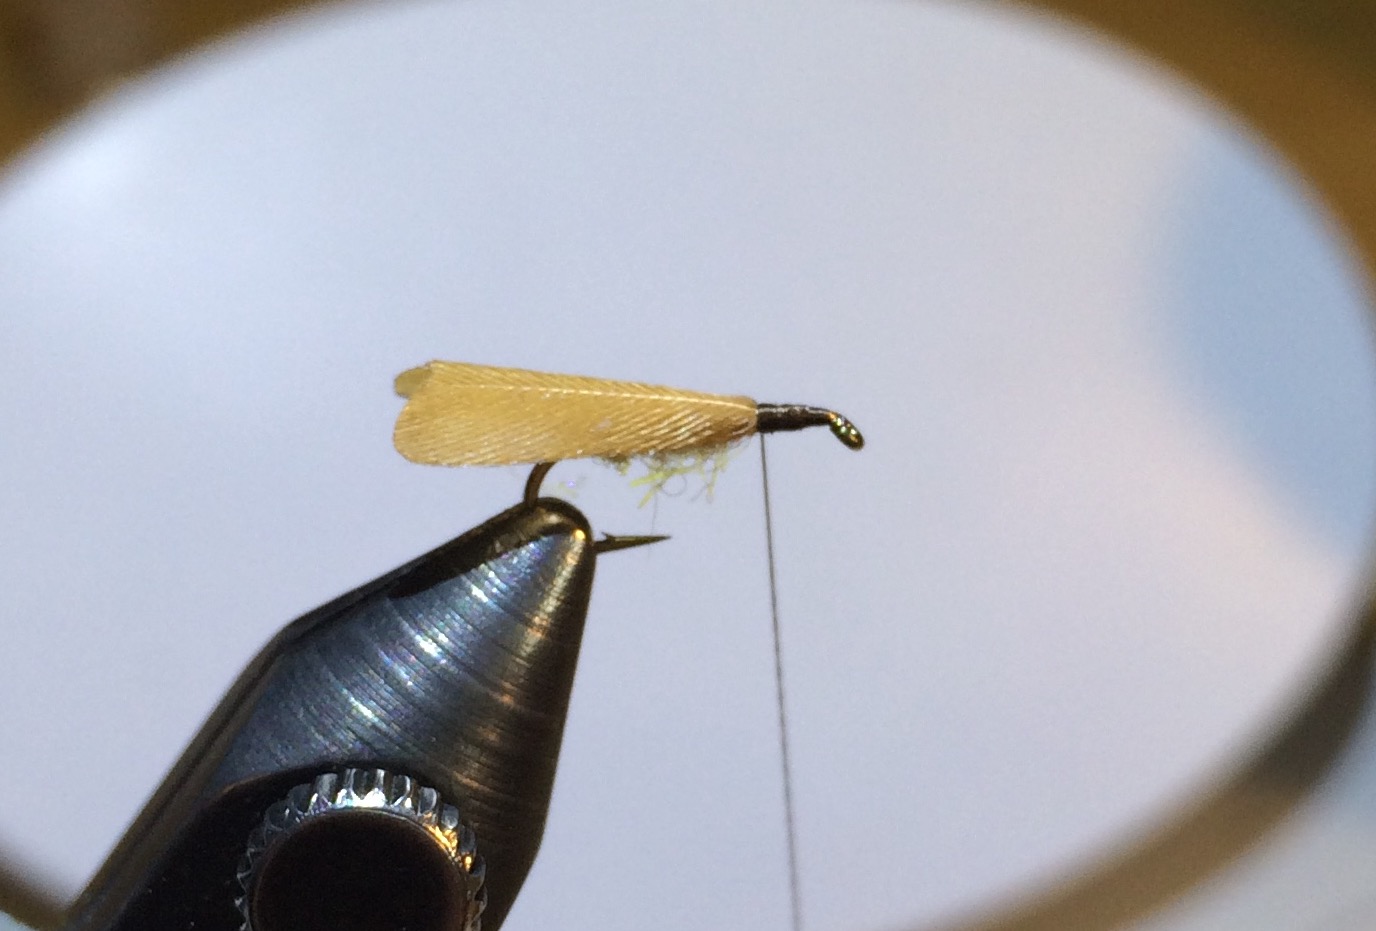
The Stocking Wing Caddis is a pretty straightforward tie, with the exception of making the wing. The wing is constructed from a hen saddle feather that is backed with transparent tape and then cut or punched to shape using a wing cutter. It’s a good idea to make a bunch of wings before you start tying. It’s also a good idea to spray the tape/wing combo with spayable fixatif or a similar adhesive to increase the wing’s durability and prevent separation of the tape and feather. If you’re going to be tying a bunch of these flies, the River Road Creations caddis wing cutter does a great job.
Materials:
- Hook: TMC 9300
- Thread: UTC 70 Denier Dark Brown
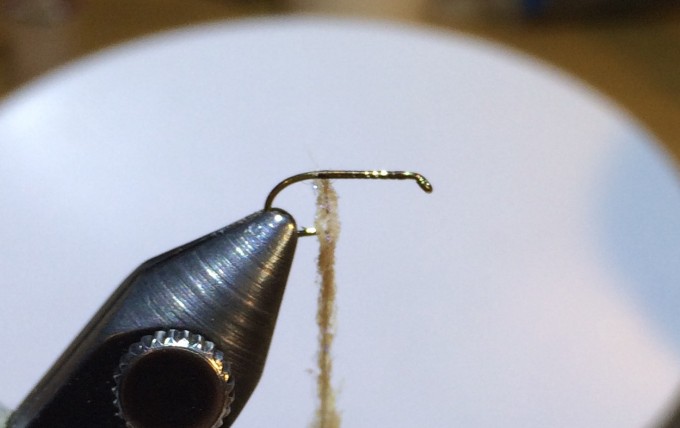
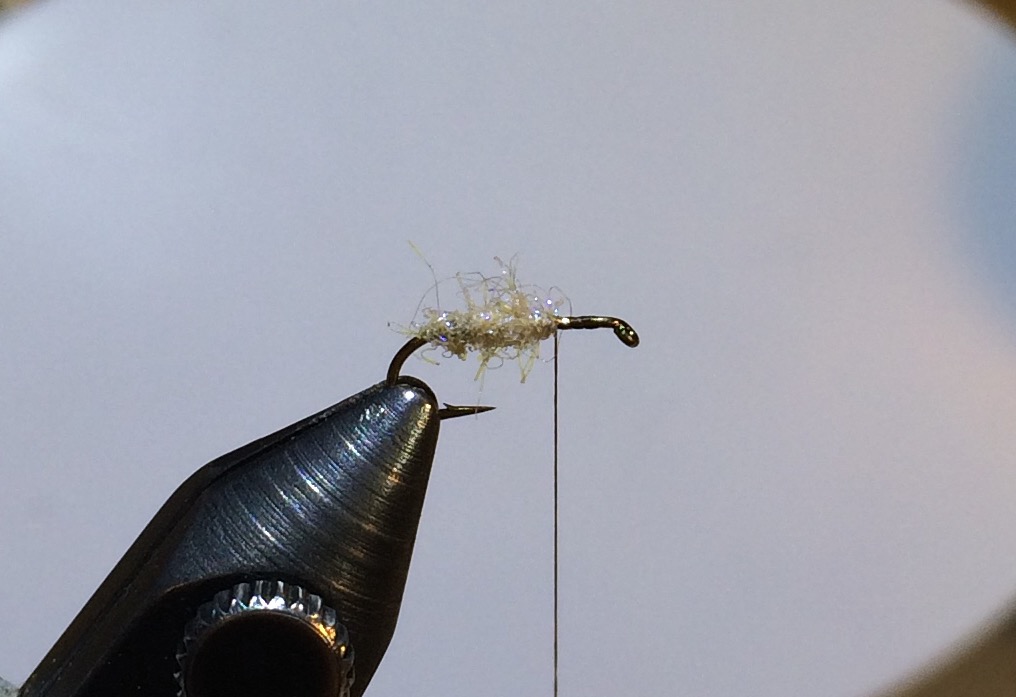
- Body: UV Tan Ice Dub
- Wing: Tan hen saddle feather backed with transparent tape and punched or cut to shape
- Hackle: Brown CDC feather


If you tie some of these up, let us know how they work for you. We also have them in the shop if you don’t feel like tying them yourself. It’s a good pattern that should definitely be in your caddis box.

4 Comments.
Nice post B-dog. You make it look easy!! I like this format. Keep em coming!
Awesome post. Awesome tie. I’ve been digging around online trying to find more about this pattern since you showed it to me. What kind of tape do you like best?
Sorry, Clayton, I just saw your comment. With summer here, you probably don’t have a ton of tying time, but I thought I’d reply anyways. The tape I use is just transparent scotch tape, not the matte kind. After the feather is taped, I spray the feather side with Krylon Workable Fixatif to increase durability.
One of the best caddis patterns out there! Thanks for the instructions!